How to create white label websites for your clients, step by step
A white label website is a site you deliver under your own brand while a platform does the building and hosting underneath. Getting the first one live is easy. Getting the tenth one live without repeating every decision is the part worth planning. This guide follows the order we see work, with the choice you need to make at each step.
TL;DR
- Brand the platform first: name, logos, colours and your own address for the client portal.
- Prepare two or three templates per type of client before you invite anyone.
- Decide per-client switches, plans and publish approval once, as brand defaults.
- Invite clients, build or review the first draft, connect their domain, then hand over.
Before you start: what "white label" covers here
There are two meanings in common use. Some agencies buy finished sites from a supplier and put their name in the footer. Others run a branded platform where they, and often their clients, build and edit sites. This guide is about the second, because it is the one that scales past a handful of clients. For the definition and history of the term, see what is a white label website.
Step 1: put your brand on the platform
Set your brand name, logo for light and dark backgrounds, favicon and colours. These appear on the sign-in page, the client dashboard and the editor your clients use.
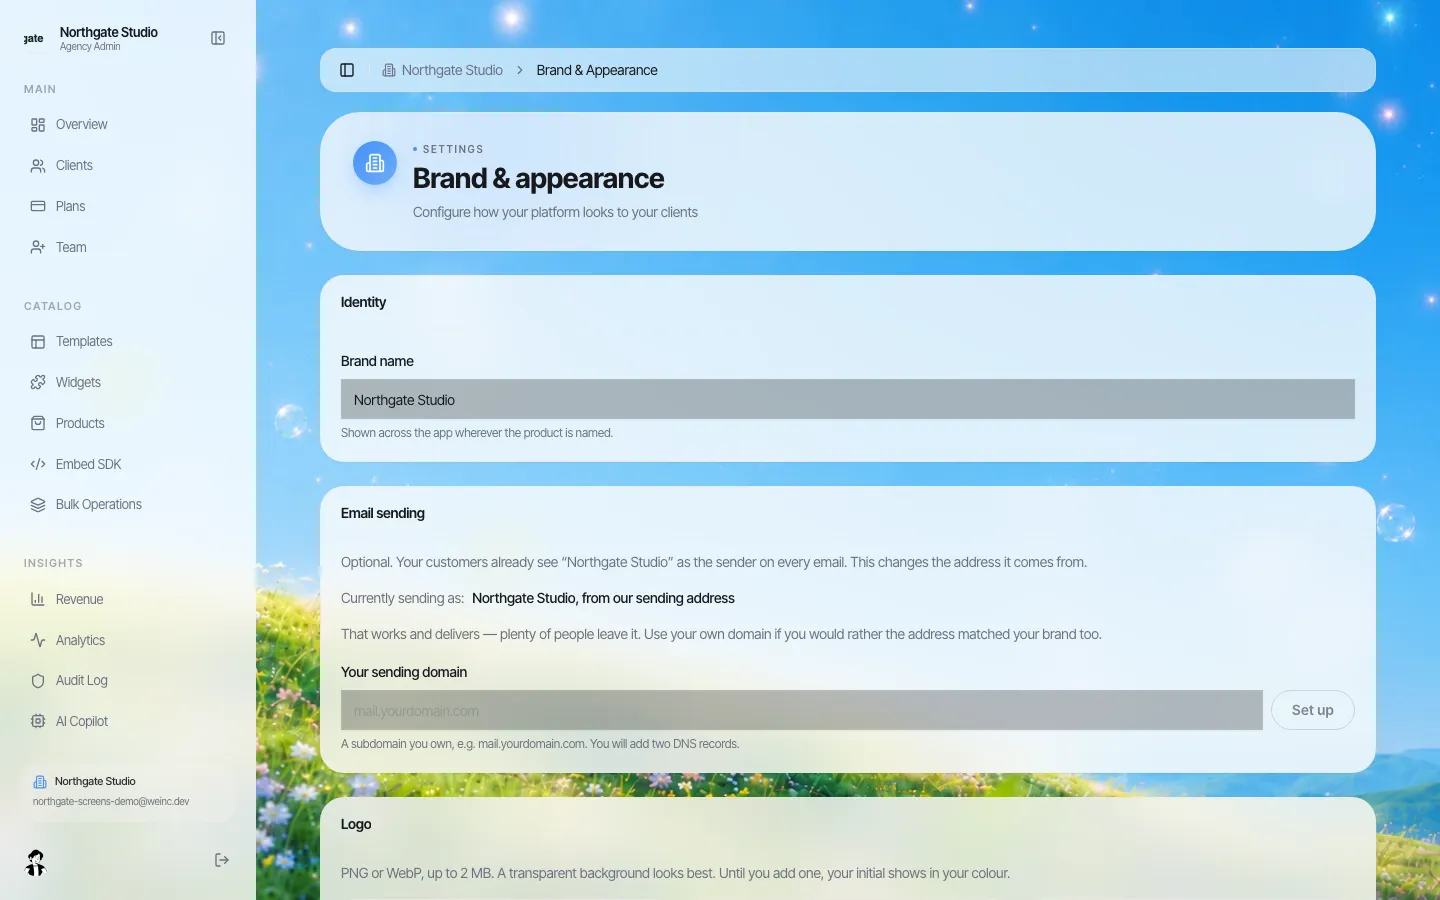
Decision: one brand or several? If you sell under two names (for example a premium studio and a budget offer), plan for that now.
Step 2: move the portal onto your own address
Clients should sign in at an address like app.youragency.com. On We.Inc one domain is set up for the portal, for published sites under a sites address, and for emails sent in your name. Existing DNS records are copied before the switch so nothing you run today goes offline during the switch. Details: custom domains for client websites.
Step 3: build a small template shelf
Before the first client, make two or three starting designs for the kinds of business you serve most. Save them as templates, then choose if clients get your designs alone or the built-in ones as well.
Decision: fewer, better templates beat a long list. A client choosing between three designs decides faster than one scrolling through forty.
Step 4: set your defaults
Set these once as brand defaults, then change them for individual clients when you need to:
| Switch | Typical agency default | Why |
|---|---|---|
| Client may publish | On, with approval | You see every change before it is public |
| Client may connect a domain | Off | Domains break email when handled carelessly |
| Client may see code | Off | Most owners never need it |
| Blog, store, forms | Per package | Matches what you sold |
| SEO tools | On | Clients can fix their own search titles |
More on each switch: client permissions.
Step 5: decide how clients pay
Either you invoice clients the way you do today, or you create plans in the console and payment from clients goes to your own Stripe account. Plans can be monthly or yearly, and each plan carries its own feature switches. When the subscription ends, the client falls back to your default plan. See reseller billing.
Step 6: invite the client and make the first draft
Add the client with their email, name, company and plan, and the invitation they get carries your brand. You can generate the first draft from a short brief, start from one of your templates, or let the client describe their business themselves.
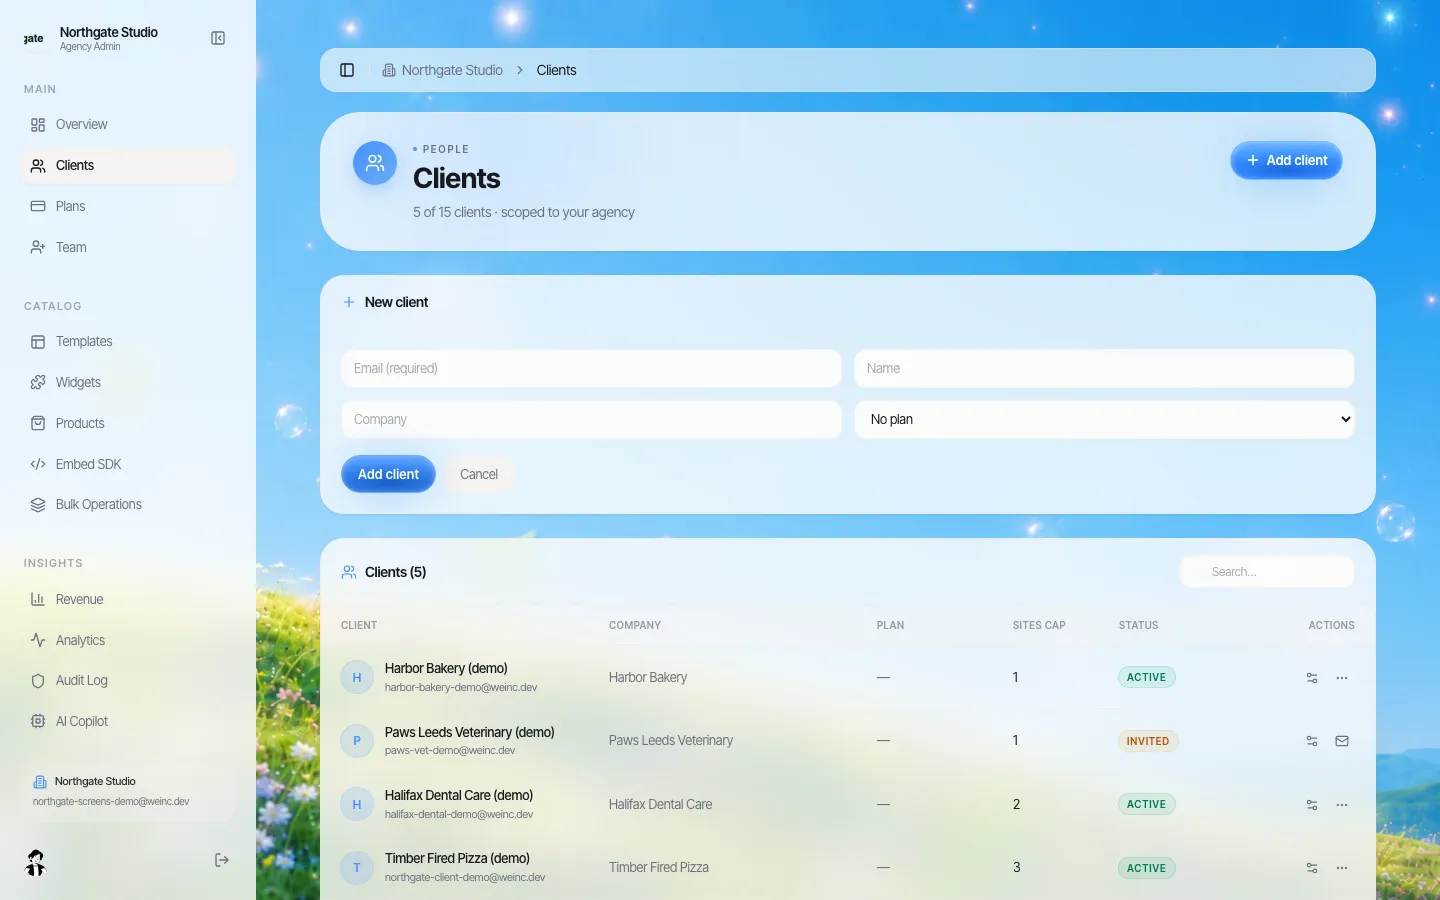
Decision: who writes the first prompt? Agencies that write it themselves, from a 15-minute call, get more consistent results than those who leave a blank box to the client.
Step 7: review, connect the domain, hand over
- Review the draft on desktop and phone.
- Fix wording and photos in the visual editor.
- Connect the client's domain from the site's Domain panel.
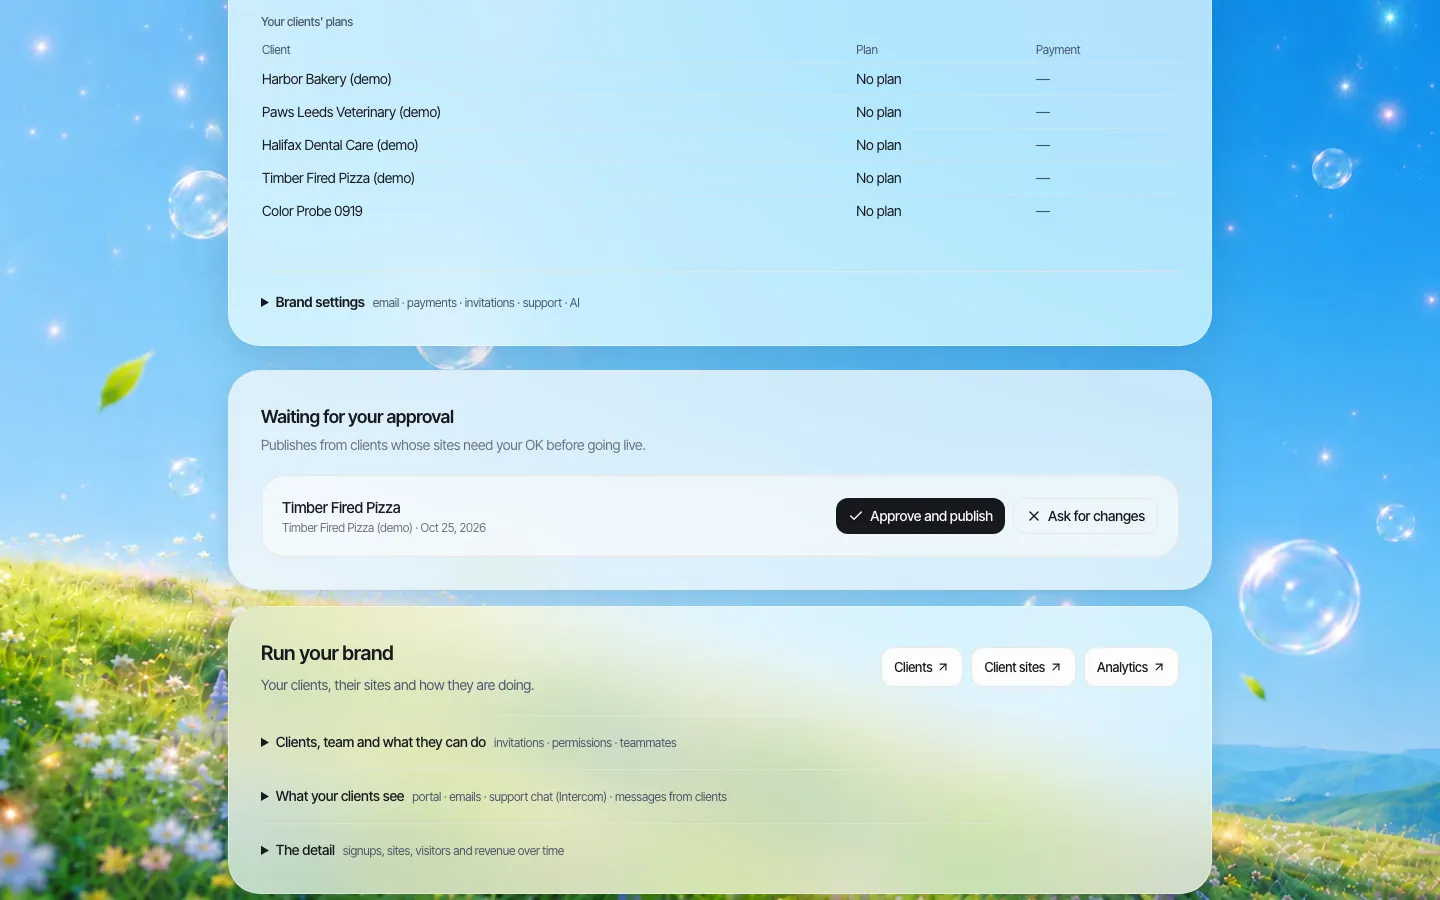
- Publish, or approve the client's publish from your queue.
- Send a short handover note: how to sign in, what they can change, who to call.
Launch checklist
- [ ] Brand name, logos, favicon and colours set
- [ ] Portal on your own address; email sending from your domain
- [ ] Two or three templates saved
- [ ] Brand defaults for switches and approval decided
- [ ] Plans created, or invoicing decided
- [ ] First client invited and draft reviewed on phone and desktop
- [ ] Client domain connected; registrar owner recorded
- [ ] Handover note sent
Mistakes we see
- Inviting clients before templates exist. They pick a random design and you redo it.
- Letting every client connect their own domain. One wrong record and their email stops.
- No written answer to "can I leave?" Decide what happens to the site and the domain if a client goes, and put it in the contract. Sites on We.Inc can be exported as code, which makes that conversation easy.
Book a demo and we will go through these seven steps with your own brand on screen.
Book a demo. Pricing is tailored to your volume and setup, and you get your exact price on the call. 0% transaction fee.
Frequently asked questions
How do I create a white label website?
Put your brand on a white-label platform, move its client portal to your own address, prepare a few templates, set client permissions and plans, invite the client, review the first draft, connect their domain and publish.
Do my clients see the platform name?
No. Clients sign in on your address and see your name, logo and colours. Emails they receive come from your brand.
Can clients edit their own white label website?
Yes, if you allow it. Each client has on/off controls covering publishing, code, domains, SEO tools, blog, store and forms, and publishing can require your approval.
Can I charge clients a monthly fee?
Yes. Create monthly or yearly plans in the console and payment from clients goes to your own Stripe account, or keep invoicing them the way you do today.
Keep reading
- White label website builder: the We.Inc platform
- What is a white label website?
- Resell websites under your brand
- Your own template library for clients
- Custom domains for client websites
- Website builder reseller program and client billing
More in White Label
- Custom Branding | White Label
- Client domains: the part of white-label that breaks when nobody owns it
- Every acquired practice comes with a website nobody at head office can log into
- Your sellers will make a website either way. Make it one you can see.
- Most domains you sell never become a website. That gap is the product.
- Drupal multisite alternative: keep Drupal for the flagship, rethink the long tail
- Duda white label pricing in 2026, and the AI alternative
- Websites for the projects, partners and small businesses an EDO serves
Product
Who It's For
- For Agencies
- For Freelancers
- For Hosting Providers
- For SaaS Platforms
- For Startups
- For Financial Services
- For Healthcare
Features
Resources
- Blog
- Help Center
- Free Business Tools
- Free UI Components
- Website Templates
- Template Collections
- Website Examples
- Guides
- Comparisons
- Alternatives
- Best Lists
- Reviews
- Pricing Guides
- Use Cases
- Glossary & Guides
- Integrations
- Developers
- Benchmark
- Windows App